
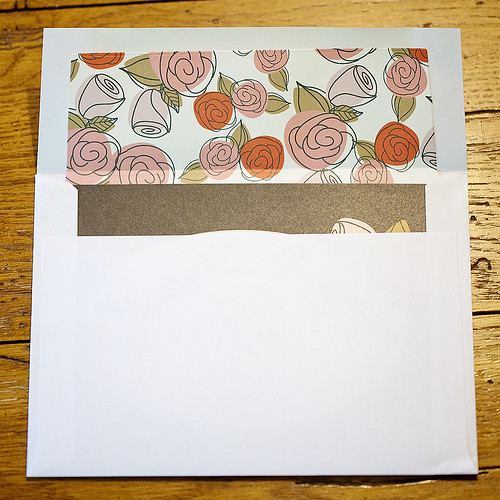
Custom envelope liners: Presentation is Everything
I LOVE lined envelopes. They add something so special to any correspondence.
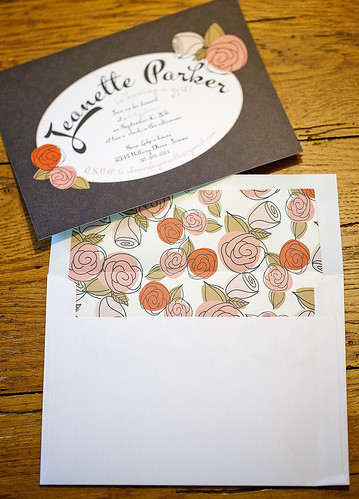
When I posted on facebook that I was working on lining envelopes for baby shower invitations, my friend Jenny commented that “presentation is everything!” She would certainly know. And she was right.
These envelope liners are incredibly simple, and super easy to do, but the finished product has a huge impact.
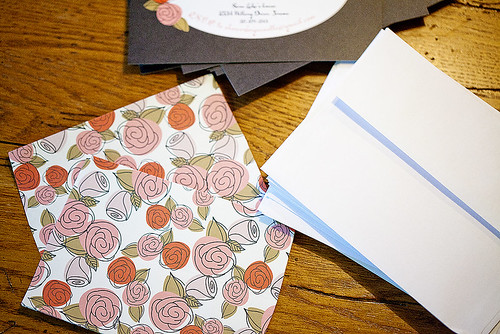
Here’s what you need:
A7 or A6 envelopes
Pre-cut A7 or A6 liners (see instructions at the bottom of this page for various ways to get these)
Glue stick
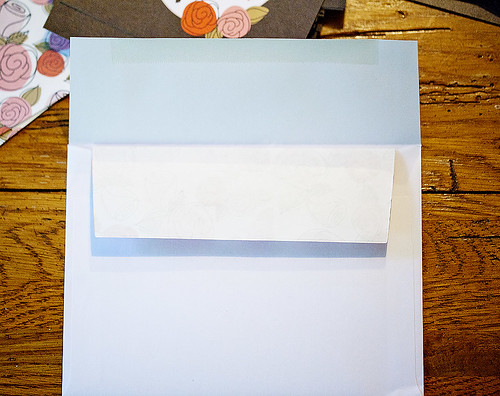
3. Fold the envelope flap back down and hold it there for a few seconds, allowing the glue to adhere to the two pieces.


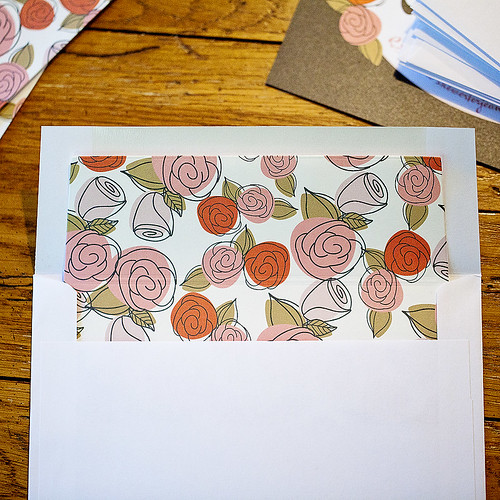
4. Voila! You have a beautifully lined envelope, ready to go!
See? Simple. Easy. Cheap. Yet the impact is beautiful!
Three ways to get pre-cut liners:
For either method, purchase patterned liner sheets from me. If you’d like something custom to match your particular design contact me to set something up! You can purchase the printable liner sheets by contact me at lessordinarydesigns@gmail.com. Most sheets are $5, but custom designs might be more.
1. CUT BY HAND. The first page of your .pdf file will have the patterned paper with an A7 cut line. The second page of your .pdf file will have the patterned paper with an A6 cut line. Print that page and then trim away the excess with scissors to get your beautiful liners!
2. CUT BY MACHINE. If you own a cricut or silhouette personal cutting machine, you can use the third page, which is the pattern, without the trim lines. Or you can use scrapbook patterned paper that you already have. Using an A7 or A6 svg file (available here), insert the patterned paper into your machines and follow the manufacturer’s instructions for cutting the liners.
2. DIE CUT. Many personal die cut systems over plates for cutting envelope liners. FOr this method, you’d use the third sheet without trim lines and use plates for your particular machine. The Lifestyle Crafts A7 Envelope Die Set is a great option.
what do you think?