
Mastering Your Handheld Embosser: A Quick Guide
Welcome to the world of embossing! Whether you’re personalizing books, crafting bespoke stationery, or adding a touch of elegance to your projects, mastering your handheld embosser is key. Here’s a guide to get you started and troubleshoot common issues, ensuring every impression is perfect.

Getting Started with Your Handheld Embosser
Upon receiving your handheld embosser, you’ll find it neatly packed in its carrying pouch, with the embosser plate unattached. Here’s how to set it up:
1. Slide the toggle on the handle towards the front to unlock and remove the plate from the back snd of the embosser.
2. To Insert the plates into the embossing tool, press the top and bottom of the plate together and slide it into the embosser, ensuring the two holes at the bottom snap onto the bottom slots on the tool.
Operating Your Handheld Embosser
1. Practice First: Always test on scrap paper to get a feel for the required pressure and alignment.
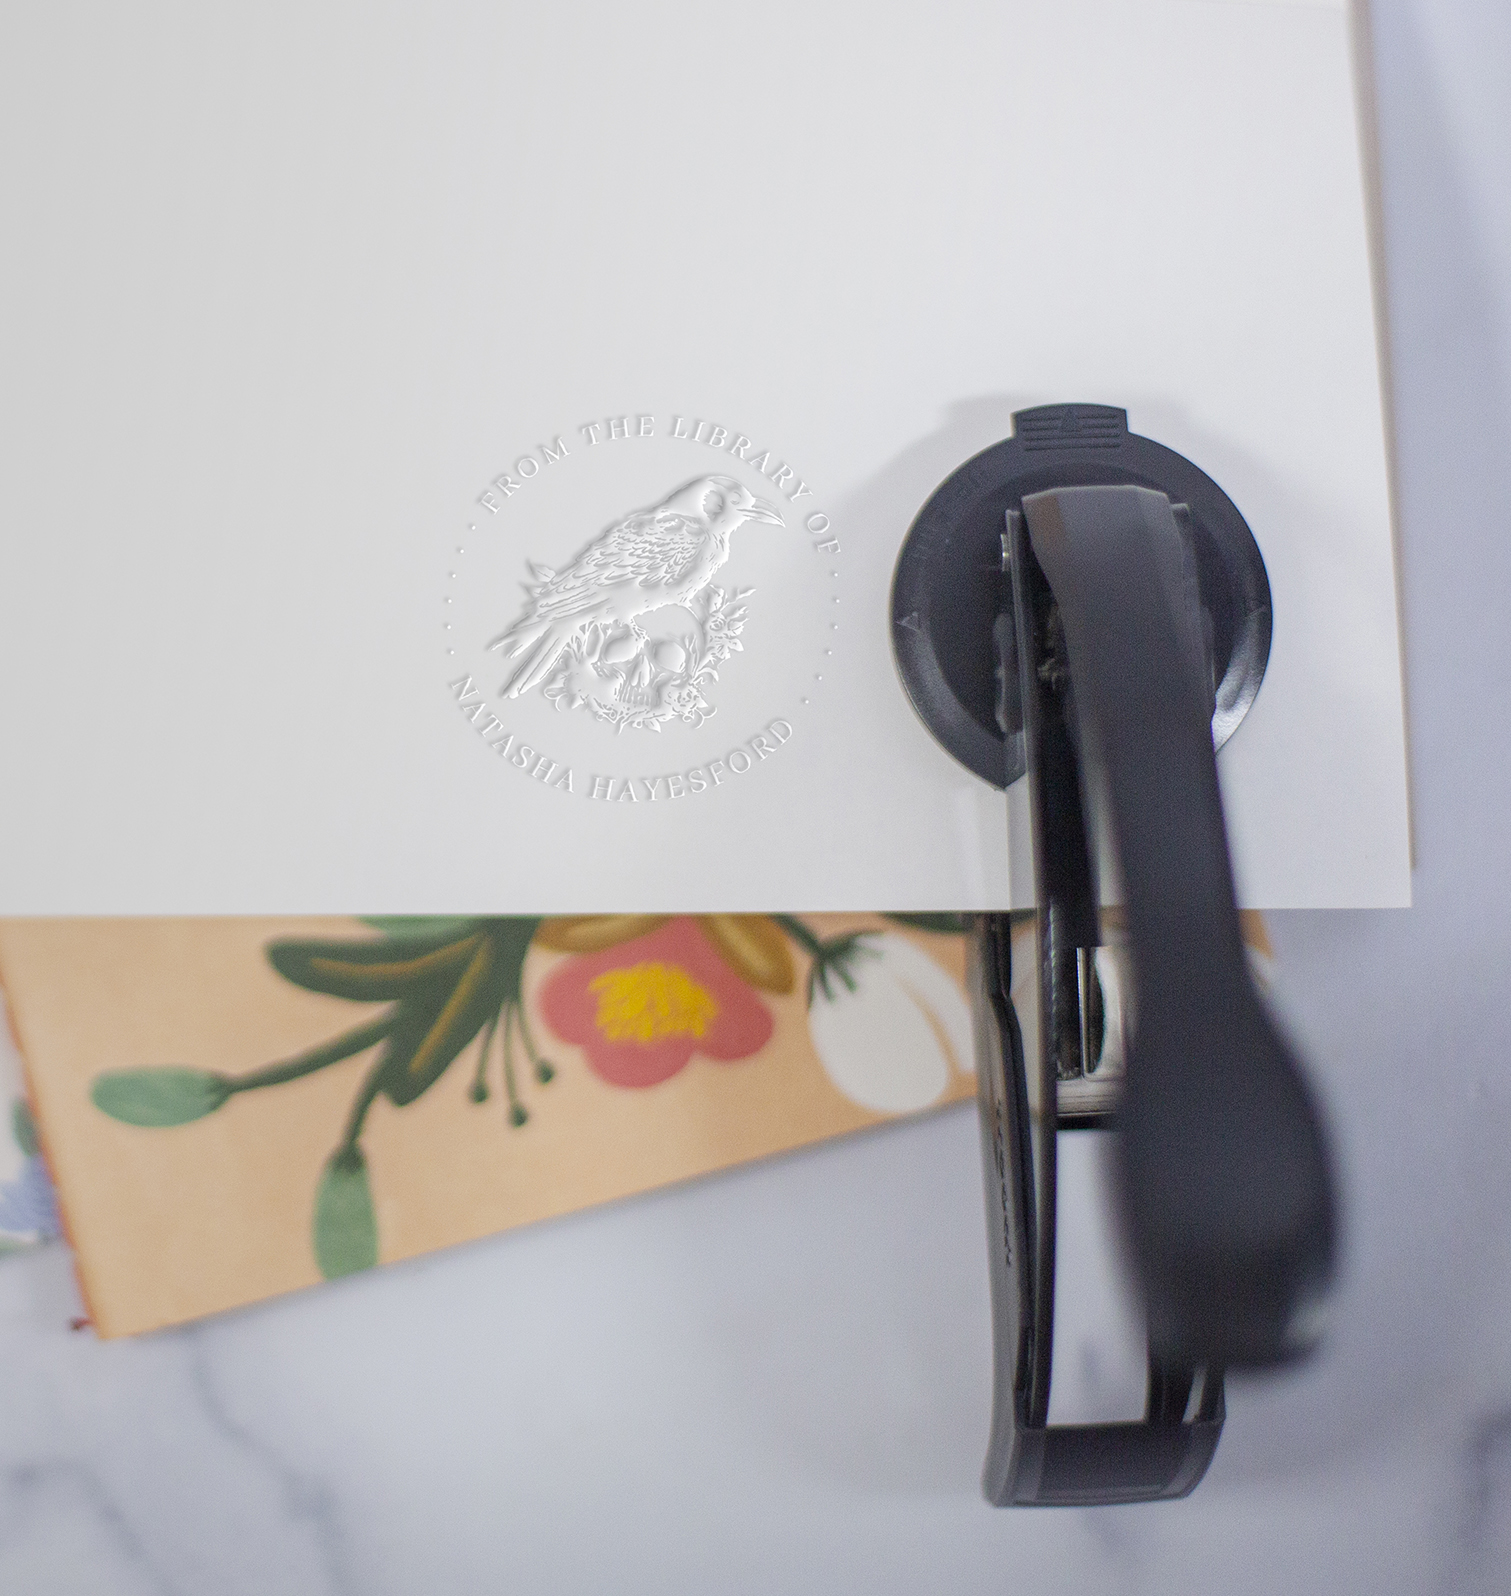
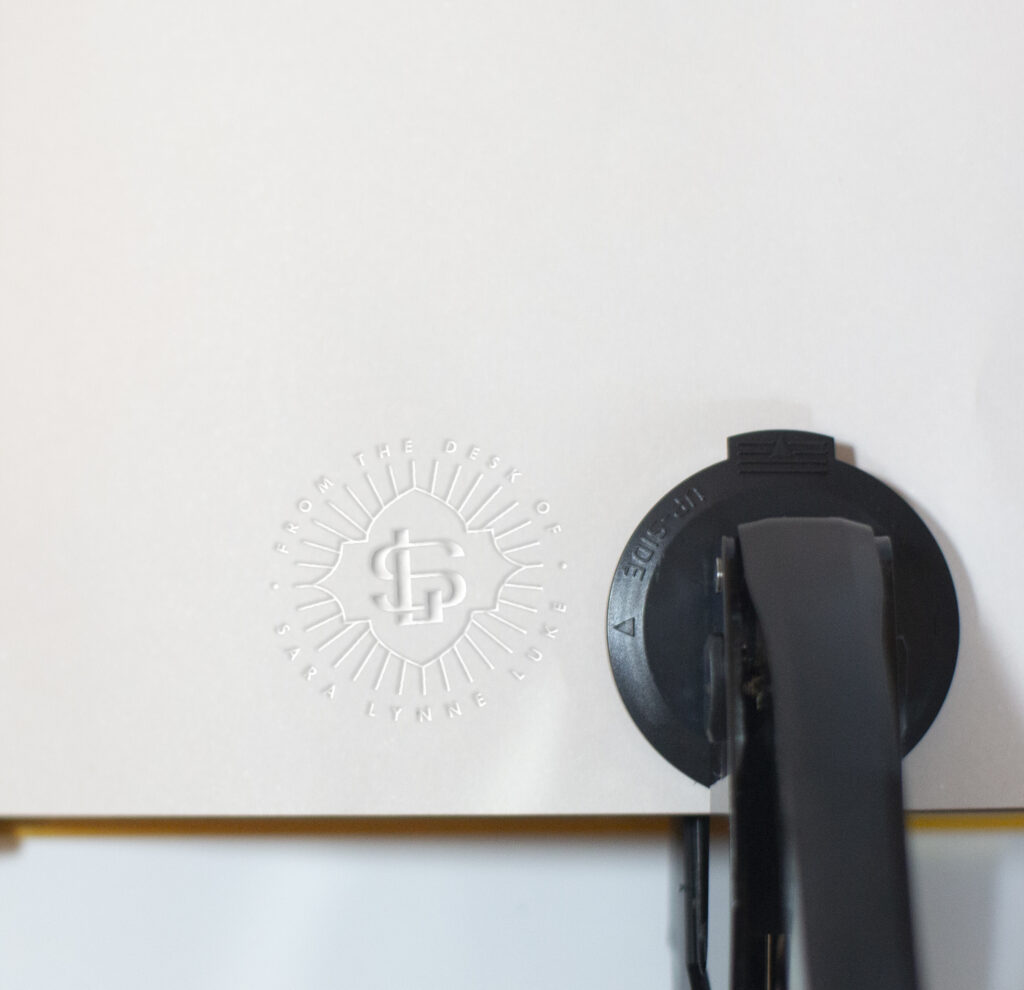
2. Orientation Matters: Use the embosser along the correct edge of your paper to ensure the layout is right-side-up. All embossers I sell are meant for the bottom of the page, unless you specifically requested otherwise.
3. Paper Weight: Ideal results are on standard 24# paper. Heavier papers may yield light or uneven impressions. Avoid cardstock heavier than 80#
4. Small Tears or Punch-Throughs: They are normal for personal embossers and should not be considered a flaw. Minimize by using less pressure or embossing with an extra sheet of paper.
5. Uneven Impressions: Ensure the embosser plate is securely attached, check if the paper is too heavy, or adjust the pressure applied during embossing.
For any further assistance feel free to reach out at sara@saralukecreative.com. Happy embossing!
what do you think?