
Tips for Making a Good Impression
Stamps offer a unique and handcrafted touch, but they do take some practice, trial and error. If you’re facing challenges in getting that flawless stamp impression, you’re in the right place. Here are some troubleshooting tips to help you overcome common stamping hurdles!
Common issues:
1. Uneven Impressions? Check Your Surface.
2. Inking Issues? It’s All in the Tap.
3. Distressed Impressions on Textured Surfaces? Here’s Why.
4. Avoiding Unwanted Ink Transfers.
5. Challenges with Corrugated Boxes? Understand the Structure.
6. Stamping Envelopes? Open Them Up.
7. Rapid Stamping Leading to Distressed Looks? It’s About the Ink.
1. Uneven Impressions? Check Your Surface.
- Problem: Your stamp impression is inconsistent or patchy.
- Solution: Ensure your stamping surface is completely flat and hard. Creases or soft spots can interfere with your stamp’s impression.
- Tip: Avoid stamping across folds or creases to achieve an even look.

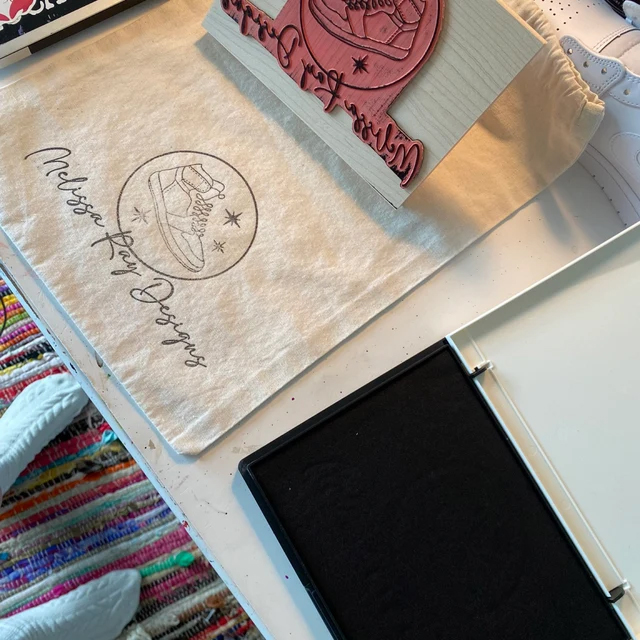
2. Inking Issues? It’s All in the Tap.
- Problem: The stamp isn’t picking up enough ink, or it’s getting too saturated.
- Solution: Gently tap your stamp against the ink pad. Ensure the entire raised surface gets covered, but resist pressing down too hard. You should never need to push your stamp into the ink.
- Tip: Practice makes perfect. Test on scrap paper to get a feel for the right amount of pressure.
- One important note: Check your ink. Is the pad too soft? Is the ink high quality? Poor ink quality is the single most common issue I’ve run across in stamp issues. If the ink is beading up on the surface of your stamp, clean your stamp thoroughly, and try again. If it’s still beading up (instead of coating the raised surface) you might have a problem. I stand by the ink I offer, but if you’ve purchased from a craft store or online, you’ll want to consult with the maker of your ink for more info.
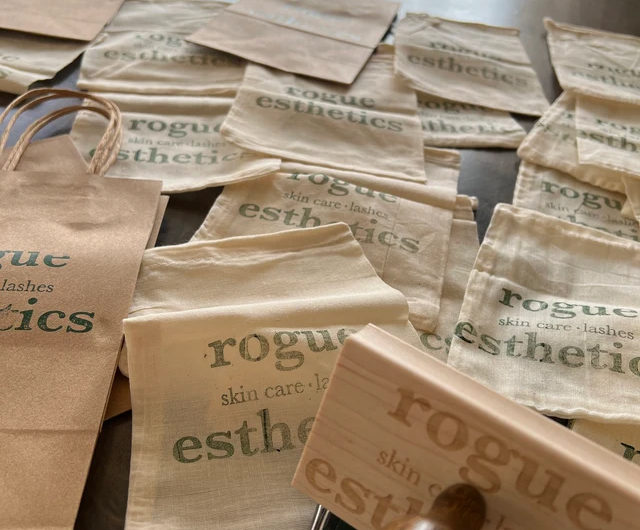
3. Distressed Impressions on Textured Surfaces? Here’s Why.
- Problem: Stamping on textured surfaces like kraft paper or shopping bags results in a more distressed look.
- Solution: Insert a firm intermediary (like an acrylic piece or craft wood) when stamping on surfaces such as shopping bags. This provides an even base, reducing the distressed look.
- Tip: Stamping over handles or uneven areas of bags can also result in uneven impressions. Be mindful of where you stamp!
4. Avoiding Unwanted Ink Transfers.
- Problem: Background ink from the stamp’s etched-away areas is transferring to your surface.
- Solution: Tap your stamp against the ink . . . do not press. All of my stamps are engraved to a depth ideal for getting a good impression. If you are picking up ink in unwanted areas, you are either pressing too hard into the ink, or using an ink pad that is too soft. After tapping the stamp in the ink, look at it to make sure it’s fully coated. If not, keep tapping. Use a firm, up-and-down stamping motion. Avoid any side-to-side or rocking movements.
- Tip: Ensure your stamp is clean and free from excess ink before use.
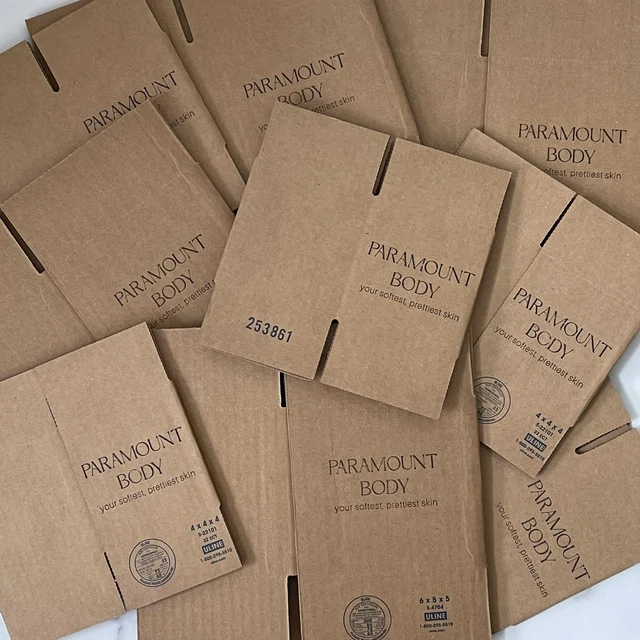
5. Challenges with Corrugated Boxes? Understand the Structure.
- Problem: Stamping on corrugated boxes results in a particularly distressed appearance.
- Solution: Due to their cellular structure, these boxes naturally create a more rustic look. Be sure that your stamp is fully coated, and that the box is unassembled, and against a hard surface. If a consistent look is essential, consider using a different surface or accepting the unique style this surface offers.
- Tip: Test in an inconspicuous area first to gauge the final result.
6. Stamping Envelopes? Open Them Up.
- Problem: When stamping an envelope, the impression overlaps or looks inconsistent.
- Solution: Always ensure the envelope is opened, especially if there’s a chance the stamp might overlap onto the front return address area. Always stamp an envelope, before it is stuffed.
- Tip: Using a hard, flat surface underneath the envelope can help ensure a consistent impression.
7. Rapid Stamping Leading to Distressed Looks? It’s About the Ink.
- Problem: Quick, successive stamping results in distressed impressions.
- Solution: Remember that bolder impressions use up more ink. Allow time for your self-inking stamp to absorb ink, or for your ink pad to recover or have a backup ink pad ready.
- Tip: If using a wood block stamp, rotate between a few ink pads if stamping in bulk to maintain consistent impressions.
Remember, the charm of custom stamps lies in their handcrafted nature. While they might not offer the exact precision of printed labels, they bring a warmth and personal touch that’s unparalleled. Each impression tells a story, and with these troubleshooting tips, you can ensure it’s a story of artistry and care.